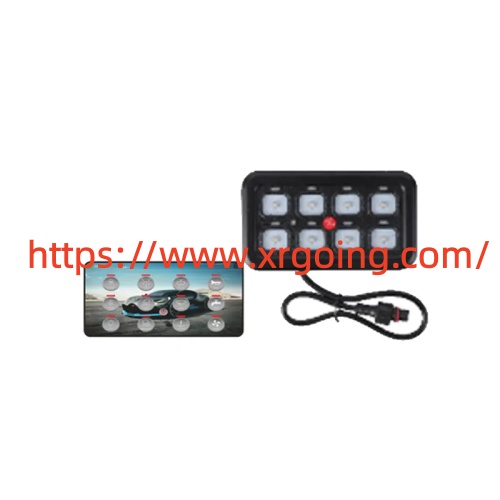
Switch Panel forms the organized hub that directs power to lights pumps and other devices through individual circuits. Correct wiring keeps voltage stable and prevents overheating that can interrupt operation or create hazards. Taking measured steps from planning through final testing builds a system that holds up under daily use and changing conditions.
Begin by listing every load the unit will control and noting its current draw. Add a safety margin so the total stays within the capacity of the main feed. Select wire gauge according to both amperage and the length of the run to limit voltage drop. Tinned copper conductors resist corrosion better than bare copper when moisture is present. Place a main protective device close to the power source so a short in the primary cable is interrupted quickly.
Mount the assembly in a dry accessible location that allows clear viewing and easy reach. Cut the opening accurately and secure the frame so vibration does not loosen fasteners later. Route the main positive cable from the protected source to the common input terminal. Connect the negative side to a solid ground bus that returns to the battery bank. Each individual circuit then runs from its own output terminal through a correctly rated fuse or breaker to the device it serves.
Crimp terminals with a quality tool and seal them with adhesive lined heat shrink. Loose or poorly made joints generate heat and can fail under load. Label both ends of every wire so future work remains straightforward. Before applying power use a multimeter to confirm continuity and the absence of short circuits between positive and ground paths. Verify that each control operates only its intended load and that indicator lights function as designed.
An Industrial Switch Panel often faces higher duty cycles and harsher surroundings so the same principles apply with extra attention to enclosure sealing and terminal torque. After the system is live monitor temperatures at connections during the first hours of operation. Any warmth beyond mild levels signals a need to recheck tightness or wire size.
Ongoing care is simple yet effective. Inspect terminals periodically for signs of corrosion or movement. Clean salt or dust deposits with fresh water and dry thoroughly. Replace any protective devices that have opened more than once without an obvious cause. Keeping a brief record of checks helps spot patterns before they become problems.
Xiangrui supplies units built with materials suited to these demands and designed for clear circuit organization. Owners who follow the sequence above can expect the assembly to deliver consistent control across seasons of regular service. The same methodical approach that produces a clean installation also reduces the chance of mid trip interruptions and keeps connected equipment ready when needed.
When the wiring is sound every activation feels predictable and the overall electrical system gains reliability. That quiet assurance comes from attention paid at the start rather than from later repairs. Practical diagrams material lists and compatible product details that match these wiring steps can be reviewed at https://www.xrgoing.com/ whenever an owner is preparing a new setup or refining an existing one.