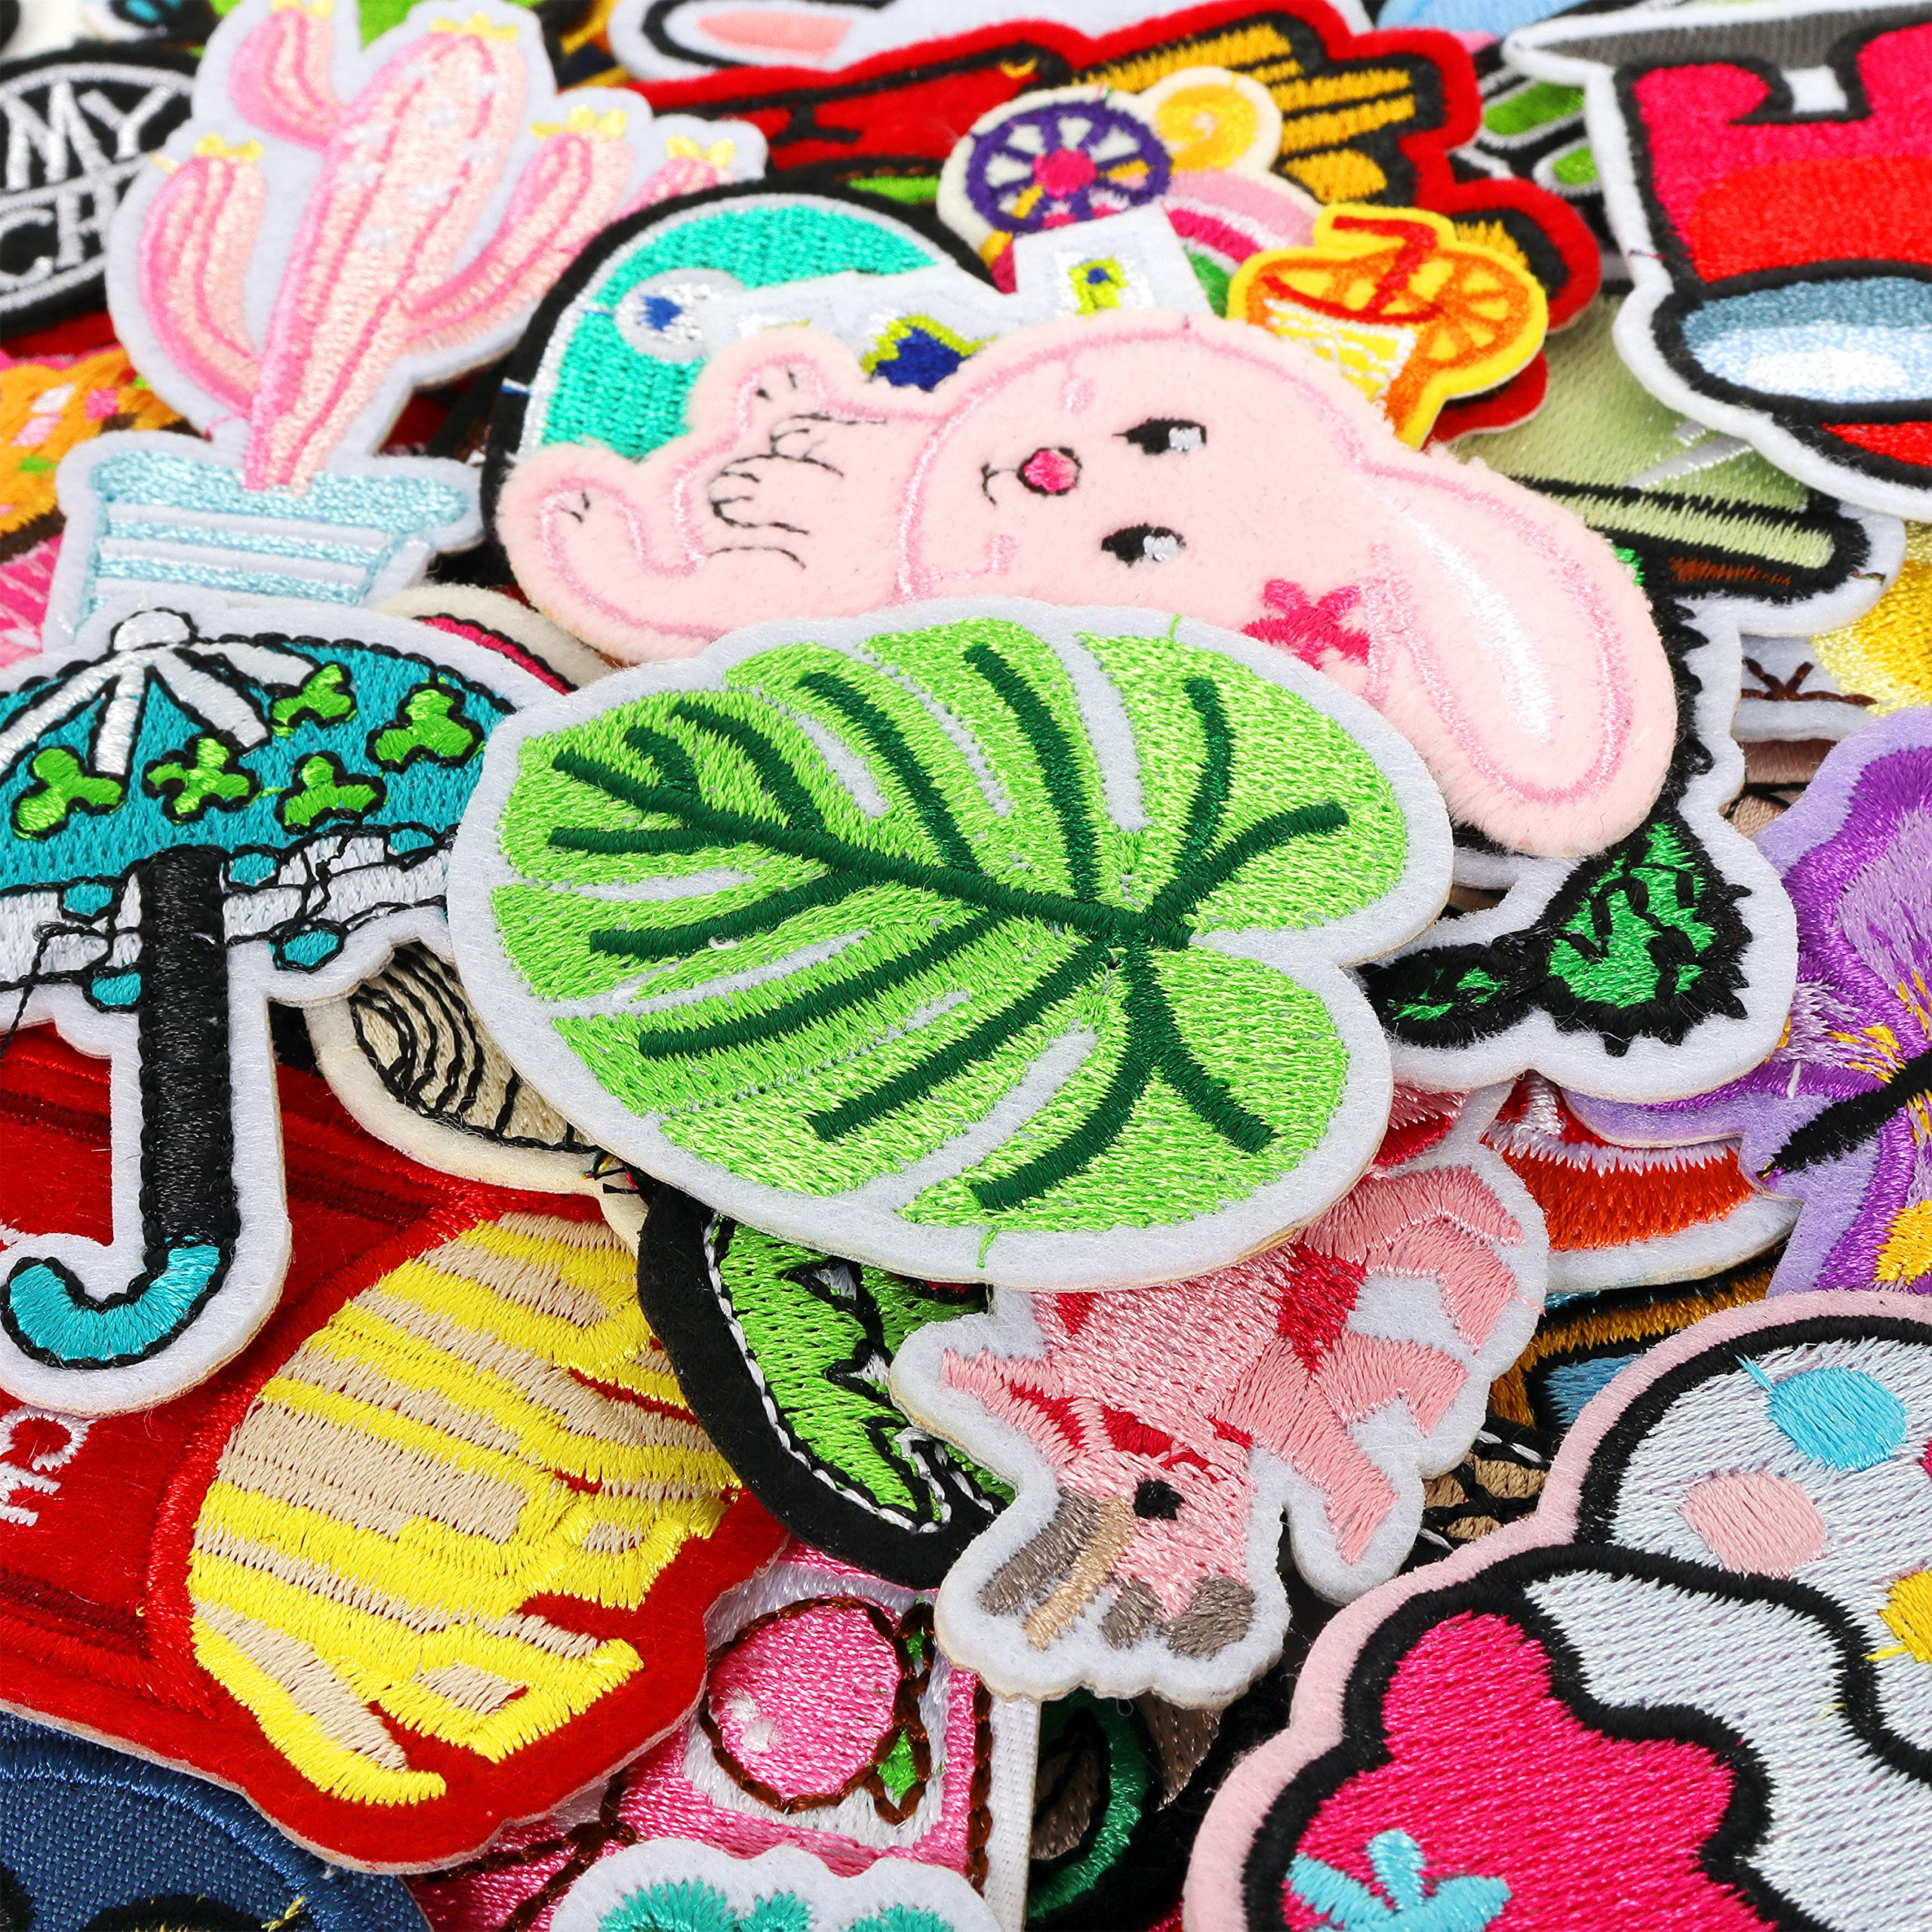
Making your own shirt patches is a simple way to personalise clothing, cover small worn areas, or turn plain fabric into something unique. You can create patches with fabric scraps, embroidery thread, fabric paint, or iron-on adhesive. The best part is that you can choose your own colours, shapes, and designs to match your style.
Whether you want to decorate a casual shirt or repair an old favourite, a few basic materials are enough to get started.
What Do You Need to Make Shirt Patches?
Before starting, gather the materials for your chosen design. You may already have many of them at home.
-
Cotton fabric, denim, or felt
-
Fabric scissors
-
A pencil or fabric marker
-
Needle and thread
-
Embroidery thread or fabric paint
-
Iron-on adhesive backing, if needed
-
An iron and pressing cloth for suitable iron-on projects
Choose fabric that suits the shirt. Denim and cotton twill work well for structured patches, while felt is easy to cut for simple decorative designs.
Step 1: Choose Your Patch Design
Start by deciding what you want your patch to look like. You could make a letter, flower, star, small picture, or colourful shape. If you are creating a patch for a club or business, you might use a name or logo.
Draw your idea on paper first. Keep the design simple if this is your first attempt. Large shapes and clear lines are easier to cut and decorate than tiny details.
Next, decide where the patch will go. A small design may look good on a shirt pocket, while a larger one could work on the back or sleeve.
Step 2: Cut the Fabric to Size
Place your design over the chosen fabric and trace around it with a fabric marker. Cut slowly to keep the edges neat.
If you are covering a hole or worn section, make the patch large enough to extend beyond the damaged area on every side. This gives you sound fabric to attach it to.
Rounded corners can help reduce fraying on some woven fabrics. If your fabric tends to unravel, plan to finish the edges with stitching or another suitable method.
Step 3: Decorate Your Patch
Now you can add colour and detail. There are several easy methods to try.
Embroidery: Use a needle and embroidery thread to stitch letters, outlines, or simple pictures. This creates a textured design and can make a plain fabric patch look more detailed.
Fabric paint: Apply fabric paint with a small brush. Let the design dry completely and follow the paint manufacturer's instructions before washing the garment.
Fabric markers: These work well for simple illustrations, patterns, and lettering. Test them on a spare fabric scrap first to check how the colour appears.
Printed designs: Fabric transfer materials can help you create patches with more detailed artwork. Make sure the transfer product is suitable for your fabric and follow its application instructions.
Step 4: Finish the Edges
A neat edge helps your patch look finished and reduces fraying. You can use a blanket stitch, zigzag stitch, or another suitable edge finish, depending on the material.
If you want an iron-on patch, attach compatible fusible adhesive to the back according to the product instructions. Some adhesives are designed for temporary positioning, while others provide a stronger bond.
Allow paint, glue, or other finishing products to dry or set fully before attaching the patch to your shirt.
Step 5: Attach the Patch to Your Shirt
There are two common ways to attach a homemade patch.
Sew-on method: Position the patch on the shirt and hold it in place with pins or fabric clips. Use a needle and matching thread to stitch around the edges. Keep your stitches even and make sure the patch lies flat.
Iron-on method: Check the shirt's care label first. Place the patch adhesive-side down, cover it with a pressing cloth if the instructions require one, and apply the recommended heat and pressure. Let the patch cool before checking that the edges have bonded properly.
Not every fabric can withstand ironing. For delicate, stretchy, or heat-sensitive materials, sewing may be the safer choice. Follow the manufacturer's instructions rather than using a temperature or pressing time based on guesswork.
Step 6: Explore More Patch Ideas
Once you have made your first patch, try different shapes, colours, and textures. You can combine embroidery with fabric paint or use contrasting fabric to make the design stand out.
If you want more inspiration for custom designs and clothing projects, how to make patches for shirts is a useful starting point for exploring shirt patch ideas.
You can also arrange several small patches on the shirt before attaching them. This helps you decide where each design looks best without making permanent changes too soon.
How to Care for Your Finished Patch
Give all paints and adhesives the time they need to set. Follow the care instructions for both the shirt and the materials used to make the patch.
Turn the shirt inside out before washing when appropriate, and avoid washing it more harshly than the care label allows. Check the edges occasionally. If stitching becomes loose or an adhesive edge lifts, repair it before the patch becomes more damaged.
Final Thoughts
Learning how to make patches for shirts gives you an affordable way to personalise clothing and make creative use of fabric scraps. Start with a simple design, cut the fabric carefully, and choose an attachment method that suits your garment. With practice, you can create patches for decoration, repairs, gifts, or custom clothing projects.