What Changed with the Heavy Shield?
The Heavy Shield has always been a staple for players who like to tank damage. Before the buff, it offered strong damage mitigation but came with a heavy mobility penalty, making it risky in fast-paced fights.
The buff increases its damage mitigation, which means you can absorb more incoming hits before taking serious damage. In practical terms:
-
You can now survive longer in choke points or when holding objectives.
-
It synergizes better with teammates who provide support or healing.
-
The movement penalty is still there, so you won’t suddenly become a mobile tank, but the tradeoff feels more worthwhile.
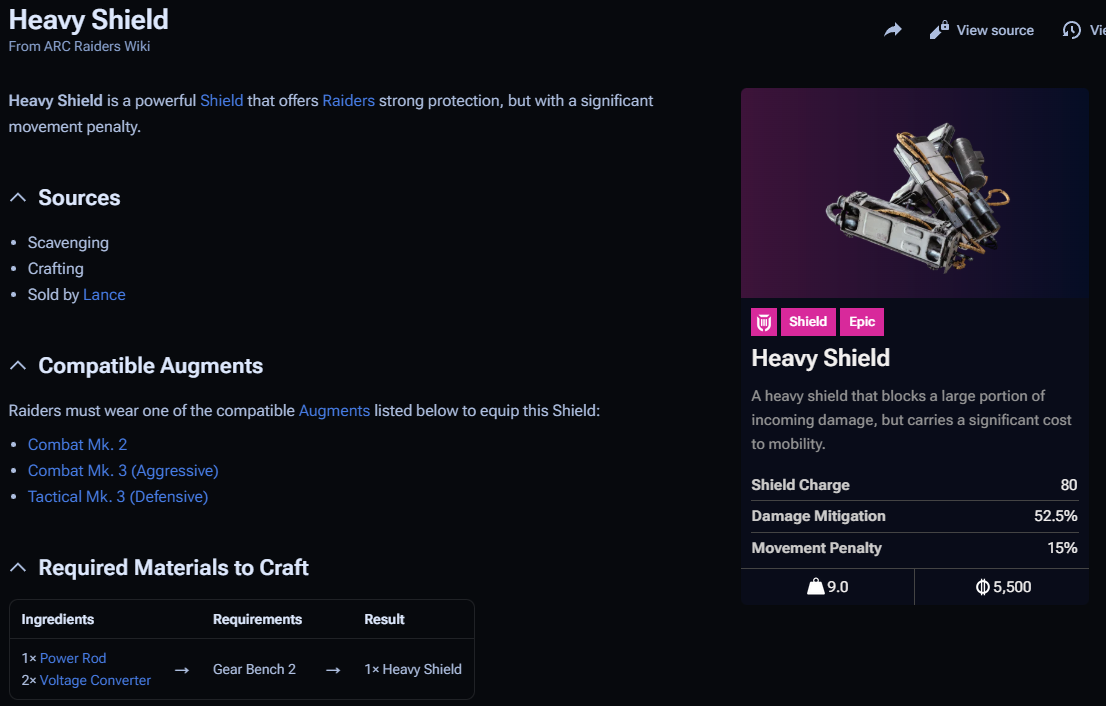
For those new to the Heavy Shield: its current stats after the buff are:
-
Damage Mitigation: 52.5%
-
Movement Penalty: 15%
-
Shield Charge: 80
These numbers mean it’s reliable for frontline work, but still not a tool for hit-and-run strategies.
Who Should Use the Heavy Shield Now?
Not everyone benefits equally from this buff. In practice, the Heavy Shield works best for:
-
Objective Defenders: If your team needs someone to hold a point or protect a generator, this shield lets you take hits while still providing cover.
-
Support-Oriented Raiders: Pairing the Heavy Shield with defensive augments like Tactical Mk. 3 (Defensive) allows you to stay alive longer and let teammates do more damage.
-
Newer Players: The increased mitigation makes mistakes less punishing, which helps newcomers survive longer during raids.
Players who rely on speed, flanking, or melee-only builds will still find the Heavy Shield cumbersome. The 15% movement penalty can make dodging difficult if you’re trying to kite enemies.
How Does It Work with Augments?
Equipping the Heavy Shield isn’t just about picking it up—it requires compatible augments. You’ll need one of these:
-
Combat Mk. 2
-
Combat Mk. 3 (Aggressive)
-
Tactical Mk. 3 (Defensive)
In practice, most experienced players prefer Tactical Mk. 3 for defensive roles. It reduces risk and pairs nicely with the increased mitigation from the buff. Combat Mk. 3 works if you plan to take calculated risks and still dish out some damage while holding the shield.
Remember, you cannot equip the Heavy Shield without one of these augments. This is a common mistake for new players, so double-check before investing resources.
How Does It Affect Gameplay Tactics?
With the buff, frontline play changes in subtle ways:
-
Holding Cover: You can now soak damage longer, giving teammates breathing room to reload or reposition.
-
Engaging Large Groups: Previously, taking on multiple enemies with the Heavy Shield felt punishing. Now, with higher mitigation, it’s safer to face small groups without dying instantly.
-
Team Coordination: A Heavy Shield user becomes the anchor of a team push. Teammates can focus fire while you control enemy movement.
However, mobility is still limited. I often see players try to sprint with the Heavy Shield—it rarely works. In practice, think of it as a “slow but solid wall” rather than a fast-moving tank.
Crafting, Repairing, and Resource Management
If you’re planning to craft one, the Heavy Shield requires:
-
1× Power Rod
-
2× Voltage Converter
-
Gear Bench 2
It costs resources that are not trivial, so it’s worth weighing whether you’ll use it often. For repairing, you’ll need:
-
2× ARC Circuitry
-
1× Voltage Converter
Durability repairs are moderate (+50 per repair). Recycling gives back some of the materials, while salvaging yields more ARC Alloy.
For players who are cautious about resources, I often recommend checking markets or trading channels. Sometimes it’s cheaper to buy Arc Raiders items for cheap prices rather than farm everything yourself. This is particularly useful if you want to test the shield without committing too many rare materials.
Is the Heavy Shield Worth It After the Buff?
In short: yes, but with conditions.
The buff makes it a more practical choice for defensive and objective-focused play. You survive longer, coordinate better with teammates, and mitigate mistakes more effectively. That said:
-
Avoid using it in high-mobility roles.
-
Pair it with defensive augments for maximum benefit.
-
Consider resource costs—both for crafting and repairs.
In my experience, the Heavy Shield now occupies a sweet spot between risk and reward. It’s no longer an all-or-nothing option—it’s a strategic choice depending on the role you want to play.
The Heavy Shield buff doesn’t make it overpowered—it simply reinforces its intended role as a defensive anchor. If you adapt your playstyle, coordinate with your team, and manage resources wisely, you’ll get a lot more value out of it.
For players experimenting with builds, I’d suggest trying it in a few lower-risk missions first to get a feel for the mobility tradeoff. Over time, you’ll notice how the shield changes engagement patterns and team dynamics.