Upgrading your golf cart from traditional lead-acid batteries to lithium technology is one of the smartest investments you can make. Lithium batteries are lighter, last longer, charge faster, and require almost no maintenance compared to their lead-acid counterparts. Whether you use your golf cart on the course, in a gated community, or for commercial purposes, making the switch can significantly improve performance and efficiency.
In this detailed guide, you’ll learn exactly how to convert your golf cart using a lithium golf cart conversion kit, along with the tools, steps, and best practices to ensure a smooth and successful upgrade.
Why Convert to Lithium Batteries?
Before diving into the process, it’s important to understand why lithium batteries are gaining popularity:
-
Longer Lifespan: Lithium batteries can last up to 5–10 years or more
-
Lightweight Design: Reduces overall cart weight, improving speed and efficiency
-
Fast Charging: Charges much quicker than lead-acid batteries
-
Zero Maintenance: No need to check water levels or clean corrosion
-
Consistent Power Output: Maintains voltage throughout the discharge cycle
These benefits make lithium batteries a superior choice for modern golf cart owners.
Tools and Materials You’ll Need
To begin your conversion, gather the following:
-
Lithium battery pack
-
Battery charger (compatible with lithium batteries)
-
Mounting brackets or trays
-
Basic hand tools (wrench set, screwdriver, socket set)
-
Safety gloves and goggles
-
Voltage meter (optional but recommended)
Having everything ready before starting will make the process quicker and safer.
Step 1: Turn Off and Inspect Your Golf Cart
Start by turning off your golf cart and removing the key. Engage the parking brake for safety. Carefully inspect your current battery setup and take note of how the batteries are connected. Taking photos at this stage can help you during reinstallation.
Step 2: Remove the Old Lead-Acid Batteries
Disconnect the negative terminal first, followed by the positive terminal. This reduces the risk of electrical shock or short circuits.
Once disconnected:
-
Carefully lift out each battery (they can be heavy)
-
Dispose of them properly at a recycling center
Tip: Lead-acid batteries contain hazardous materials, so never throw them in regular trash.
Step 3: Clean the Battery Compartment
After removing the old batteries, clean the battery tray thoroughly:
-
Remove any corrosion or debris
-
Check for rust or damage
-
Ensure the area is dry and stable
A clean compartment ensures better installation and longevity for your new lithium system.
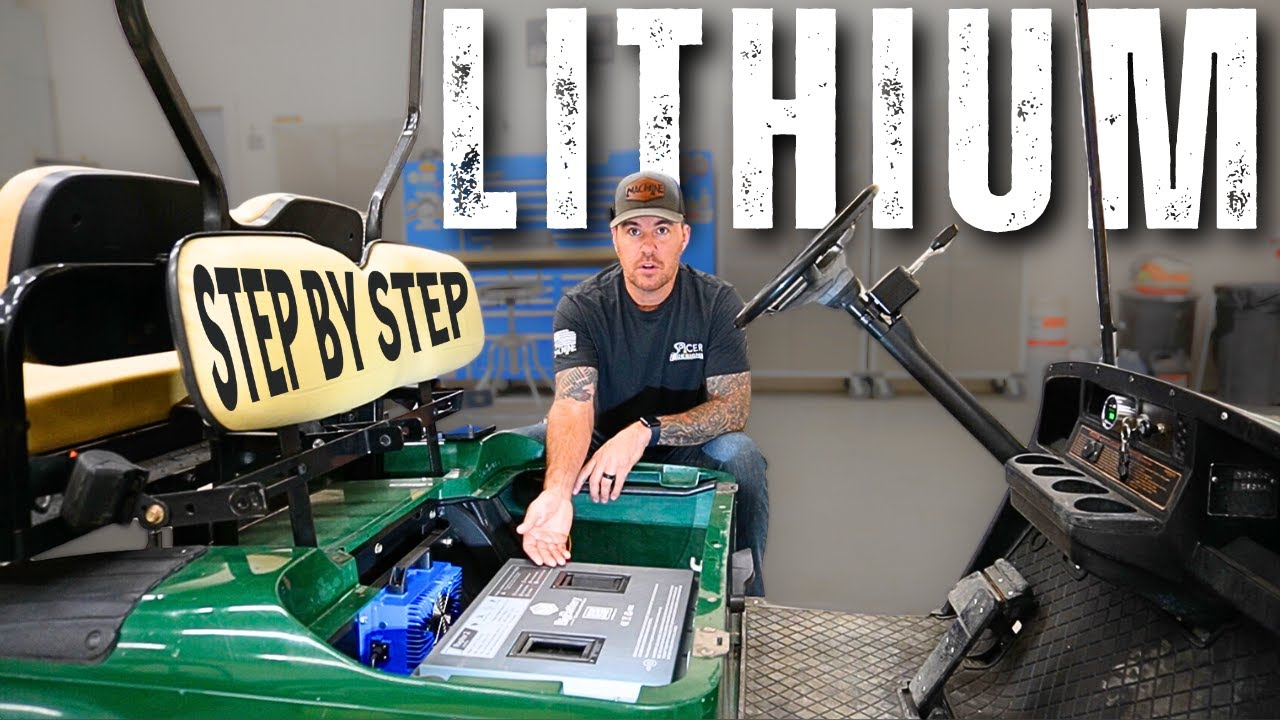
Step 4: Install the Lithium Battery Pack
Place your lithium battery pack into the battery compartment. Since lithium batteries are typically smaller and lighter, you may need brackets or spacers to secure them properly.
Make sure:
-
The battery is firmly positioned
-
There is no movement or vibration
-
Terminals are easily accessible
Step 5: Connect the Wiring
Now it’s time to connect the battery:
-
Attach the positive cable first
-
Then connect the negative cable
-
Ensure all connections are tight and secure
Double-check the wiring configuration according to the manufacturer’s instructions. Incorrect wiring can damage your battery or cart.
Step 6: Install the Lithium Charger
Lithium batteries require a compatible charger. Replace your old charger with one designed specifically for lithium systems.
-
Connect the charger to the battery pack
-
Ensure proper voltage compatibility
-
Test the charger to confirm it's working correctly
Step 7: Test the System
Before taking your cart out for a ride:
-
Turn on the cart
-
Check the battery indicator
-
Test acceleration and braking
If everything runs smoothly, your conversion is successful!
Step 8: Secure and Finalize Installation
Once testing is complete:
-
Secure all cables using zip ties
-
Double-check mounting brackets
-
Close the battery compartment
A neat and secure setup prevents future issues and ensures safety.
Common Mistakes to Avoid
While converting your golf cart, keep these mistakes in mind:
-
Using the wrong charger: Always use a lithium-compatible charger
-
Loose connections: Can lead to poor performance or damage
-
Skipping safety gear: Always wear gloves and goggles
-
Ignoring manufacturer instructions: Each battery system may have specific requirements
Maintenance Tips After Conversion
One of the biggest advantages of lithium batteries is low maintenance, but you should still:
-
Keep the battery clean and dry
-
Avoid extreme temperatures
-
Charge regularly but avoid overcharging
-
Monitor performance periodically
These simple steps will help maximize battery life and efficiency.
Benefits You'll Notice Immediately
After conversion, most users report:
-
Faster acceleration
-
Longer driving range
-
Reduced charging time
-
Smoother overall performance
Your golf cart will feel more powerful and reliable than ever before.
Choosing the Right Battery Brand
Not all lithium batteries are created equal. It's important to invest in a reliable and well-reviewed brand to ensure performance and safety. High-quality options like rhino lithium batteries are known for durability, efficiency, and strong customer support, making them a popular choice among golf cart owners.
Conclusion
Converting your golf cart to lithium batteries is a game-changing upgrade that enhances performance, reduces maintenance, and saves money in the long run. By following this step-by-step guide, you can complete the conversion safely and efficiently, even if you're not a technical expert.
With the right tools, proper installation, and a quality battery system, your golf cart will deliver better speed, longer range, and improved reliability for years to come.