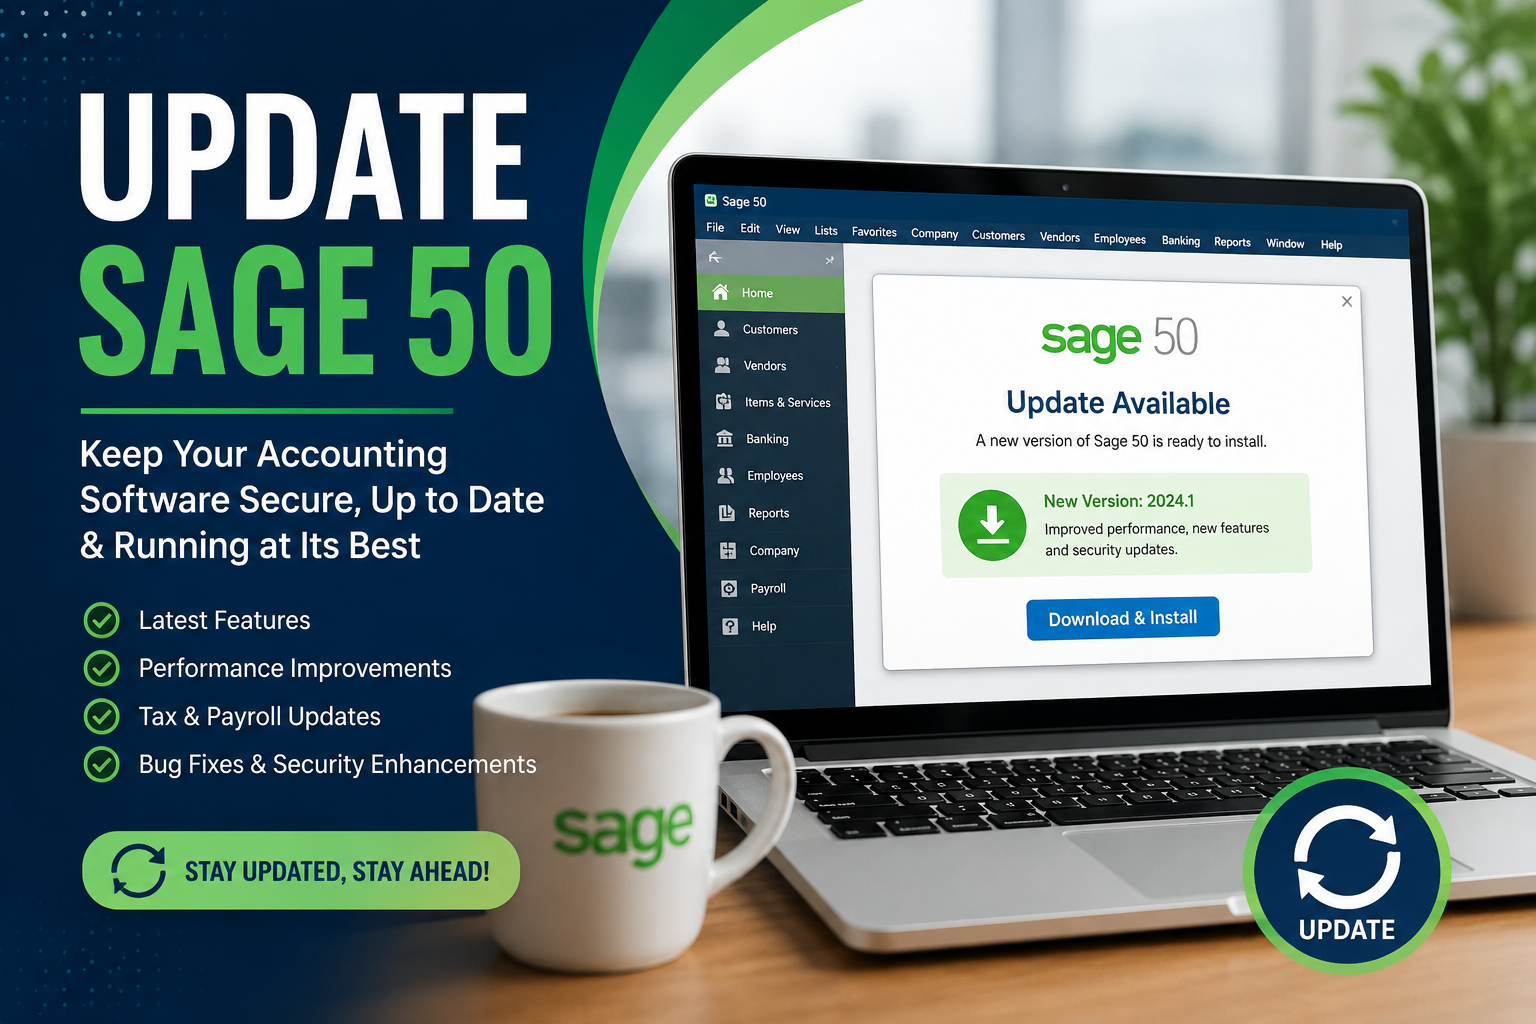
Upgrading Sage 50 is one of the best ways to keep your accounting software secure, efficient, and compatible with the latest technology. Every new release introduces performance enhancements, security patches, bug fixes, and new features designed to improve your accounting experience. Whether you're upgrading Sage 50 to a newer yearly version or installing the latest product update, preparing your system beforehand can help you avoid unnecessary downtime and data-related issues.
Benefits of Upgrading Sage 50
Using the latest version of Sage 50 offers several advantages for businesses of all sizes, including:
- Improved application speed and overall performance.
- Enhanced security against software vulnerabilities.
- Access to the latest accounting and reporting tools.
- Better compatibility with Windows updates and Microsoft Office.
- Updated payroll and tax features for eligible subscriptions.
- Ongoing technical support for supported versions.
An outdated version may eventually lose compatibility with modern operating systems and third-party applications, making regular upgrades highly recommended.
Things to Do Before You Upgrade
Proper preparation can significantly reduce the risk of upgrade failures. Before starting the installation, make sure you:
- Back up your Sage 50 company data.
- Verify that your computer satisfies the latest system requirements.
- Install all pending Windows updates.
- Ensure you have sufficient disk space.
- Log in as a Windows administrator.
- Disable antivirus software temporarily if it interferes with installation.
- Ask all users to exit Sage 50 in a multi-user environment.
These precautions help ensure a successful installation.
How to Upgrade Sage 50
Follow these steps to install the latest version:
Step 1: Create a Company Backup
Use Sage 50's backup utility to create a secure copy of your company file. Store the backup in a safe location before proceeding.
Step 2: Download the Latest Release
Download the newest version using your Sage account or the installation package provided with your subscription.
Step 3: Launch the Installation
Right-click the installer and select Run as Administrator. Follow the installation wizard and accept the license agreement.
Step 4: Complete Software Activation
Once installed, enter your serial number and activation key if prompted to validate your license.
Step 5: Upgrade Your Company File
Open your existing company data. Sage 50 will automatically update the database to the latest version. Do not interrupt this process.
Step 6: Review Your Accounting Data
After the conversion is complete, verify balances, customer records, vendor information, inventory, and financial reports to ensure the upgrade finished successfully.
Common Problems During a Sage 50 Upgrade
Although most upgrades complete without issues, some users may encounter:
- Installation or setup errors
- Company file conversion failures
- Activation or licensing errors
- Payroll update issues
- Multi-user connectivity problems
- Missing or damaged program files
These issues are often resolved by repairing the installation, restoring a recent backup, updating Windows, or reinstalling Sage 50.
Tips for a Successful Upgrade
To minimize interruptions during the upgrade process:
- Perform upgrades outside business hours.
- Keep multiple backups of your company file.
- Upgrade all workstations to the same Sage 50 version.
- Verify network permissions before opening shared company files.
- Install the latest product updates after completing the upgrade.
Final Thoughts
An Upgrade Sage 50 process is more than just installing a newer version—it helps protect your accounting data, improves software performance, and ensures compatibility with current business requirements. By following the proper preparation steps and installation procedure, you can upgrade confidently while minimizing downtime. If problems arise during installation or data conversion, timely troubleshooting can help restore normal operations and keep your accounting system running efficiently.