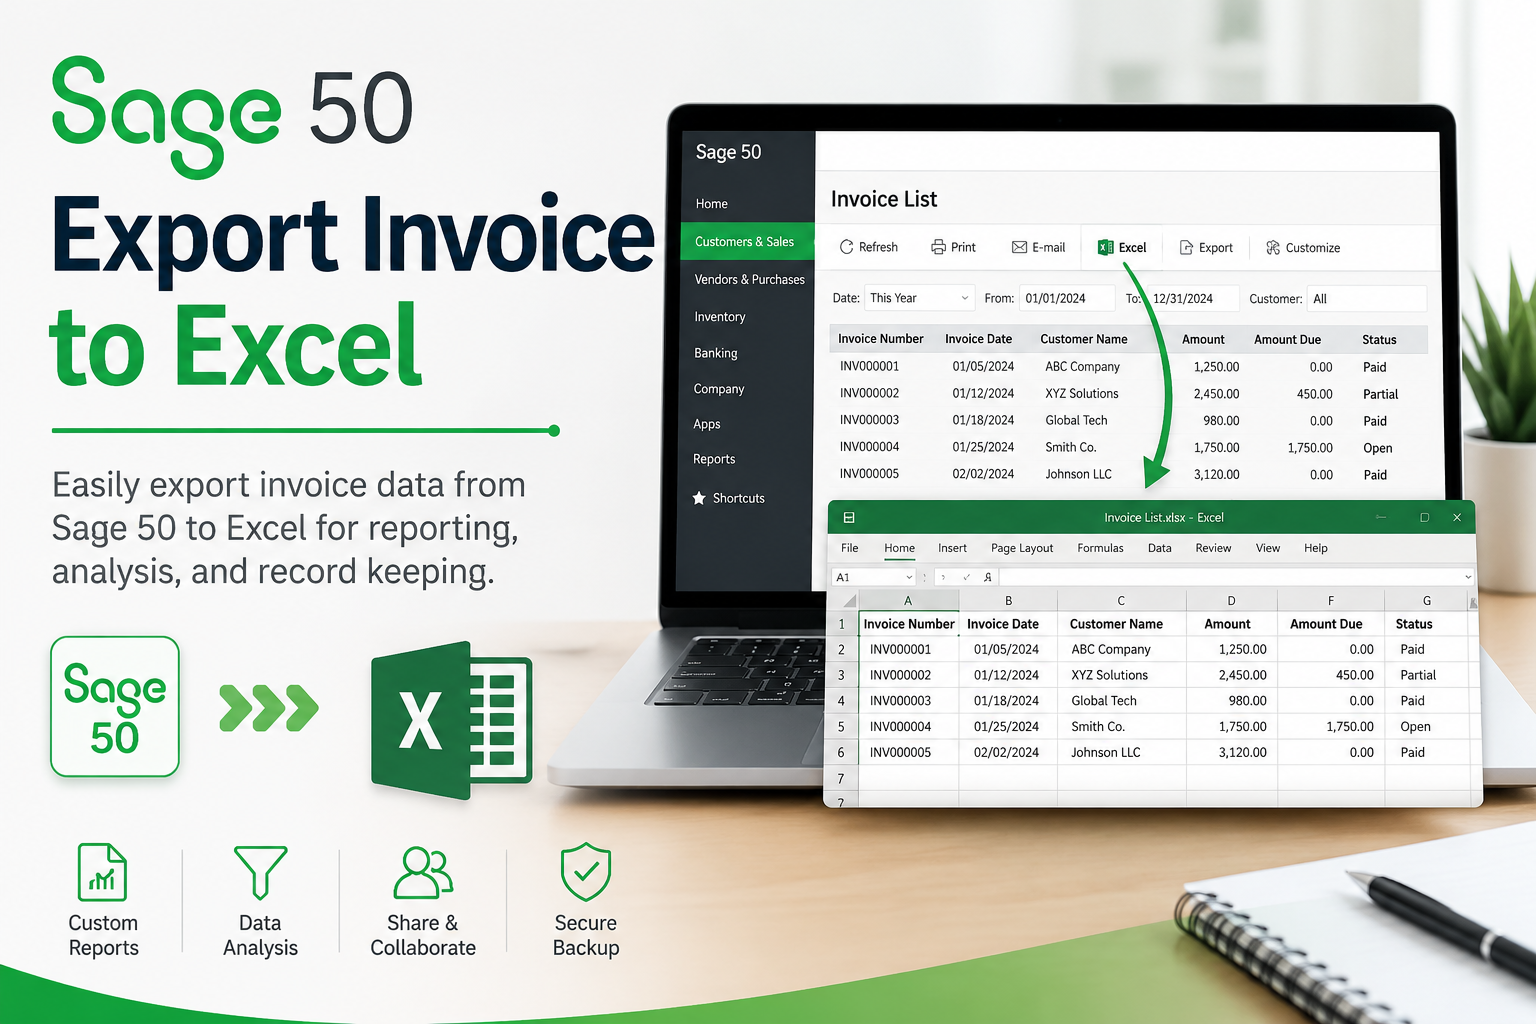
Managing invoices in Sage 50 becomes much easier when you export them to Excel. Whether you need to analyze sales data, share invoices with your accountant, prepare reports, or maintain backups, the Sage 50 Export Invoice to Excel feature helps you organize financial information efficiently. Excel offers flexible tools for filtering, sorting, creating charts, and performing calculations that are difficult to accomplish directly within Sage 50.
In this guide, you'll learn how to export invoices from Sage 50 to Excel and what to do if you encounter common export issues.
Why Export Invoices from Sage 50 to Excel?
Exporting invoices provides several advantages for businesses of all sizes, including:
- Create customized financial reports.
- Analyze customer sales trends.
- Share invoice data with external accountants or auditors.
- Maintain an additional copy of invoice records.
- Import invoice information into other business applications.
- Perform advanced calculations and data analysis using Excel formulas.
Steps to Export Invoice to Excel in Sage 50
Follow these simple steps to export invoice data:
- Open Sage 50 and sign in to your company file.
- Navigate to the Sales or Customers & Sales module.
- Open the Invoice List or relevant sales report.
- Apply filters if you want to export invoices for a specific customer, date range, or status.
- Click the Export , Send To , or Excel option, depending on your Sage 50 version.
- Select Microsoft Excel (.xlsx) or CSV as the export format.
- Choose the destination folder where you want to save the file.
- Click Save or Export .
- Open the exported file in Microsoft Excel to review and edit the data as needed.
Common Issues While Exporting Invoices
Although the export process is generally straightforward, users may encounter some problems.
Excel Option Is Missing
Some Sage 50 editions may not display the Excel export button. Ensure Microsoft Excel is properly installed and compatible with your Sage 50 version.
Export File Is Blank
A blank spreadsheet often indicates that no invoices matched the selected filters. Verify your date range and customer selection before exporting.
Formatting Problems
Dates, currency values, or columns may appear differently in Excel. Use Excel's formatting tools to standardize the data after export.
Permission Errors
If you cannot save the exported file, check that you have write permission for the selected folder or save the file to a different location.
Large Export Takes Time
Exporting thousands of invoices may require additional processing time. Narrowing the date range can improve performance.
Tips for a Successful Sage 50 Invoice Export
To ensure accurate and efficient exports:
- Back up your Sage 50 company file before exporting large datasets.
- Keep Sage 50 and Microsoft Excel updated.
- Verify invoice filters before exporting.
- Save exported files using descriptive names with dates.
- Review the spreadsheet for missing or incomplete records after export.
- Store exported files securely if they contain sensitive customer information.
Conclusion
The Sage 50 Export Invoice to Excel feature simplifies financial reporting, record management, and business analysis. By following the correct export steps and applying appropriate filters, you can quickly generate Excel spreadsheets containing your invoice data. If export errors occur, checking software compatibility, permissions, and filter settings usually resolves the problem. Regularly exporting invoices also provides an additional layer of recordkeeping, making it easier to analyze business performance and share financial information whenever needed.