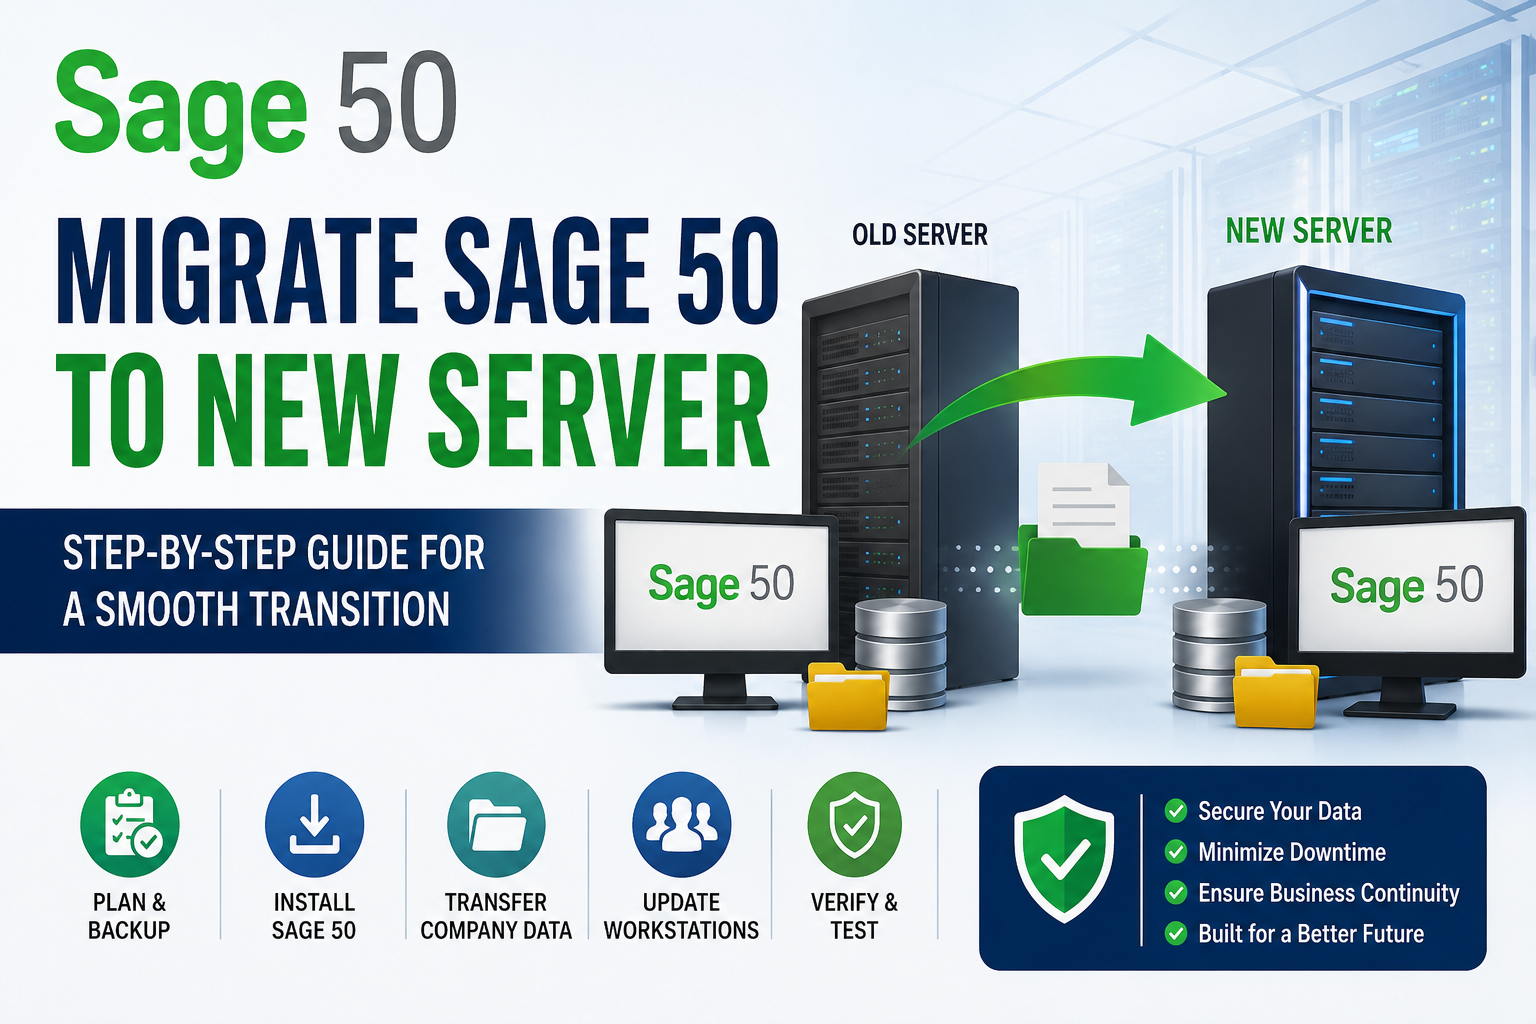
Migrating Sage 50 to a new server is an important process for businesses looking to improve performance, increase storage capacity, or replace outdated hardware. However, an improper migration can lead to data corruption, multi-user connectivity issues, or unexpected downtime. With the right preparation and migration strategy, you can transfer your Sage 50 company data safely while keeping your accounting operations uninterrupted.
This guide explains how to migrate Sage 50 to a new server, outlines the prerequisites, highlights common migration challenges, and shares best practices to ensure a successful transition.
Why Migrate Sage 50 to a New Server?
Businesses migrate Sage 50 to a new server for many reasons, including:
- Replacing aging or unreliable server hardware
- Improving application performance
- Expanding storage for growing company files
- Upgrading to a newer Windows Server operating system
- Strengthening data security
- Enhancing backup and disaster recovery capabilities
- Supporting additional users in a multi-user environment
- Reducing maintenance and hardware costs
A modern server provides better speed, reliability, and scalability for your accounting operations.
Prepare Before Migrating Sage 50
Before moving your company data, complete these important preparation steps:
Back Up Your Company Data
Create a complete backup of your Sage 50 company files, including custom reports, forms, payroll data, and attachments. Store the backup in a secure location that is separate from the existing server.
Verify System Compatibility
Ensure the new server:
- Meets Sage 50 hardware requirements
- Runs a supported Windows Server version
- Has sufficient disk space
- Includes the latest Windows updates
Review User Access
Before migration:
- Ask all users to exit Sage 50.
- Disable scheduled accounting tasks.
- Record the current shared folder location.
- Verify administrator permissions on both servers.
Step-by-Step Guide to Migrate Sage 50 to a New Server
Step 1: Install Sage 50 on the New Server
Install the same release of Sage 50 that is currently running on the existing server.
During installation:
- Choose the appropriate server installation option.
- Install available product updates.
- Activate the software if required.
Installing the same version helps avoid compatibility issues.
Step 2: Transfer the Company Files
Copy the complete Sage 50 company data folder from the old server to the new one.
Include:
- Company data files
- Transaction database
- Custom reports
- Invoice templates
- Payroll files
- Attachments
Avoid changing folder names during the transfer process.
Step 3: Configure Shared Folder Permissions
Share the migrated company folder and assign the proper permissions.
Every authorized user should have:
- Read permission
- Write permission
- Modify permission
Incorrect permissions are one of the most common causes of multi-user errors after migration.
Step 4: Reconnect Every Workstation
On each workstation:
- Open Sage 50.
- Browse to the company file on the new server.
- Open the file.
- Save the new network path.
Repeat these steps for every workstation connected to Sage 50.
Step 5: Verify Multi-User Operation
After reconnecting all users:
- Open the company file from multiple computers.
- Create sample transactions.
- Verify users can work simultaneously.
- Confirm changes appear instantly across workstations.
Successful testing confirms the server configuration is functioning correctly.
Step 6: Test Essential Features
Before removing the old server, verify that Sage 50 operates normally by testing:
- Customer invoicing
- Vendor payments
- Financial reporting
- Payroll processing
- PDF generation
- Email forms
- Printing
- Company backups
Resolving issues during testing prevents disruptions after deployment.
Common Migration Problems
Some businesses encounter issues such as:
- Company file cannot be located
- Invalid data path errors
- Activation or licensing prompts
- Printer configuration issues
- Sage PDF Converter failures
- Firewall blocking Sage communication
- Network permission errors
- Slow multi-user performance
Most of these problems can be resolved by reviewing folder permissions, workstation settings, firewall rules, and shared network paths.
Best Practices for a Successful Migration
To reduce downtime and improve reliability:
- Schedule the migration outside business hours.
- Keep multiple verified backups.
- Test the migration on a single workstation first.
- Leave the old server operational until testing is complete.
- Update Windows and Sage 50 after migration.
- Verify scheduled backups on the new server.
- Monitor server performance during the first week.
These best practices help ensure a smooth transition with minimal business disruption.
Why Professional Migration Assistance Can Help
If your organization has multiple company files, remote users, payroll integration, third-party applications, or a complex network environment, professional migration assistance can simplify the process. Experienced technicians can help configure multi-user access, troubleshoot licensing issues, optimize server performance, and minimize downtime during migration.
Conclusion
Migrating Sage 50 to a new server is a critical task that requires careful planning and execution. By backing up your company data, preparing the new server, securely transferring files, configuring permissions, reconnecting workstations, and thoroughly testing the new environment, you can complete the migration successfully. A properly executed migration improves system performance, enhances security, and provides a stable accounting platform that supports your business well into the future.