In Path of Exile 2, one of the most intriguing and challenging bosses you'll encounter is The Path of Exile 2 Trade. This formidable foe is part of the narrative in Act 5 and serves as one of the game’s early major encounters, giving players a taste of the complexity and strategy involved in later bosses. The Prisoner is an imposing figure, with unique abilities and mechanics that require a combination of preparation, skill, and adaptability to overcome.
In this guide, we’ll break down everything you need to know about The Prisoner encounter, providing strategies, mechanics, and tips to help you defeat this formidable opponent.
1. The Setting: The Ruined Cells
The Prisoner boss fight takes place in the Ruined Cells, a grim and desolate location steeped in history. Once a place of confinement and torment, the Ruined Cells now serve as the battleground where players must confront The Prisoner.
The arena itself is a large, circular platform surrounded by prison bars, broken chains, and remnants of a long-forgotten era. This atmospheric design complements the boss’s story and its role as a tragic figure in the game’s lore. The environment plays an important role in the fight, as the Ruined Cells are littered with traps, hazards, and occasional adds that can complicate the encounter.
To reach The Prisoner, you will need to complete a series of objectives and face off against several enemies before entering the arena. However, once you step into the arena proper, the real challenge begins.
2. The Prisoner Boss Overview
The Prisoner is a massive, humanoid boss with a tragic backstory tied to the game's larger narrative. He was once a powerful warrior, bound in chains as a prisoner to serve a greater cause. But now, his chains and tortured existence have transformed him into a fearsome foe who relentlessly seeks vengeance against those who wronged him.
The Prisoner’s abilities are diverse and include both devastating physical attacks and unique mechanics that challenge players’ positioning, timing, and awareness. He is a combination of brute force and magical ability, making him one of the more difficult bosses players will encounter in Act 5.
One of the main things that makes The Prisoner particularly dangerous is his ability to quickly change up his attacks and mechanics as the fight progresses. Players will need to constantly adjust their tactics to handle his unpredictable behavior.
3. Phase 1: The Chains of Fate
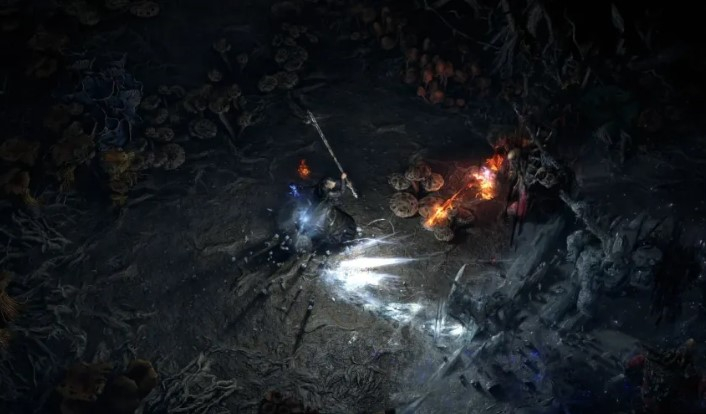
The first phase of the fight is relatively straightforward, but that doesn’t mean it’s easy. The Prisoner will begin the encounter by using his Chains of Fate attack, which can be devastating if you’re caught in its area of effect.
Chains of Fate is an ability where The Prisoner will summon glowing chains that lash out at the player in a sweeping motion. These chains are telegraphed by a brief visual cue, which gives you just enough time to dodge them. However, the timing window is small, and getting hit can result in massive physical damage and a debuff that slows your movement speed for a short time.
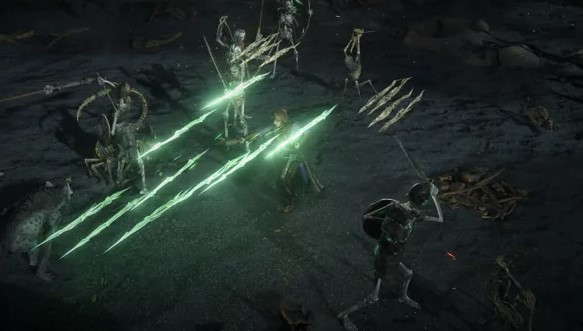
Additionally, The Prisoner will periodically summon smaller minions—referred to as Cage Sentinels—to help him during this phase. These enemies are weak but persistent, and while they don’t deal much damage, they can crowd the arena and make it difficult to focus solely on the boss.
Strategy for Phase 1:
Dodge Chains of Fate: Watch for the glowing chains, and quickly move out of their path. Don’t wait too long, or you might get hit by the attack.
Clear Adds Efficiently: Eliminate the Cage Sentinels quickly, as they can overwhelm you if you focus solely on the boss.
Monitor Positioning: Keep yourself near the outer edges of the arena to avoid getting trapped in the center, where the Chains of Fate and minions can corner you.
4. Phase 2: Shattering Bonds and Rising Fury
Once you’ve dealt with the initial onslaught, The Prisoner will enter the second phase of the fight. This phase introduces two new mechanics: Shattering Bonds and Rising Fury.
Shattering Bonds is a phase-specific mechanic where The Prisoner will channel a powerful, devastating ability. During this channel, large cracks will form in the floor, and the boss will prepare to shatter the arena, dealing massive area damage to any players caught in the vicinity. The cracks are a visual indicator of the attack's location, and you’ll need to move quickly to avoid being caught in the explosion.
In tandem with this, Rising Fury activates, where The Prisoner will move quickly around the arena, charging up for a series of rapid attacks. During this period, the boss’s speed and damage output will significantly increase, and you’ll need to avoid his strikes while simultaneously trying to land your own hits. The Prisoner will often use Shattering Bonds at the peak of his fury, causing chaos across the arena.
Strategy for Phase 2:
Avoid Shattering Bonds: Stay aware of the cracks in the floor, and quickly move to areas that are safe from the impending blast.
Stay Agile During Rising Fury: Keep moving and avoid getting caught in The Prisoner’s rapid attack combos. You’ll need to dodge and weave between his strikes while looking for an opening to land damage.
Manage Your Flasks: The Rising Fury phase can be punishing. Be sure to use healing flasks or defensive buffs to help you withstand the boss’s ramped-up aggression.
5. Phase 3: The Final Break
In the third and final phase, The Prisoner becomes even more dangerous. This phase introduces The Final Break, a devastating ability that significantly changes the flow of the fight. At this point, The Prisoner is fully enraged and unleashes his most powerful attacks.
During this phase, The Prisoner will attempt to break free from his chains completely, using a series of violent ground slams and wide-sweeping attacks. These attacks have enormous area-of-effect damage and are hard to avoid unless you’re paying close attention to his movements.
In addition to The Final Break, The Prisoner will continue to summon adds in the form of Soul Shards, which explode on contact with the player and deal significant damage. These explosions can quickly overwhelm players who are not mindful of the arena’s layout. The Prisoner will also periodically perform a large, sweeping attack that covers the entire arena, forcing players to dodge or risk being instantly killed.
Strategy for Phase 3:
Avoid the Final Break: Keep your distance when The Prisoner begins to charge his ground slams. Use movement skills like Leap Slam or Flame Dash to avoid the massive damage zones.
Control Adds Efficiently: Focus on clearing the Soul Shards as they spawn. These adds can deal serious damage if left unchecked, so make sure to stay on top of them while keeping an eye on the boss.
Stay at Range or Use Mobility: If you’re a ranged class, stay at a safe distance and avoid getting caught in the boss’s ground slam. Melee players should use their mobility to stay close to the boss without being overwhelmed by adds.
6. General Tips and Strategies
Elemental Resistances: The Prisoner deals primarily physical and fire damage, so be sure your gear is well-prepared to withstand these types of damage. If you’re struggling to stay alive, look for items that provide a solid balance of both resistances.
Prepare for the Arena’s Hazards: The Ruined Cells are filled with traps and environmental hazards. Always be aware of your surroundings and avoid getting backed into corners or areas filled with traps.
Use Movement Skills: The Prisoner’s attacks can be hard to avoid, especially during Rising Fury and The Final Break. Movement skills like Flame Dash, Leap Slam, or Dash can be lifesavers during these phases.
Flask Management: Having flasks that remove debuffs (like Freeze, Chill, or Bleed) and that grant temporary buffs to your resistances or movement speed can make a big difference during the more chaotic phases of the fight.
7. Rewards for Defeating The Prisoner
Defeating The Prisoner is no small feat, and players who succeed will be rewarded with high-level gear, crafting materials, and powerful items that can help them progress through Act 5. Additionally, The Prisoner’s defeat unlocks further challenges in the game’s storyline, providing you with the opportunity to delve deeper into the mysteries of Path of Exile 2.
Conclusion
Defeating The Prisoner in Path of Exile 2 requires a mix of strategy, positioning, and adaptability. Each phase of the fight introduces new challenges, but with the right preparation and understanding of the boss mechanics, you’ll be able to buy POE 2 Currency Orbs. Keep an eye on your surroundings, dodge the incoming attacks, and manage the adds efficiently, and you’ll defeat The Prisoner and continue your journey in the world of Path of Exile 2. Good luck, Exile!