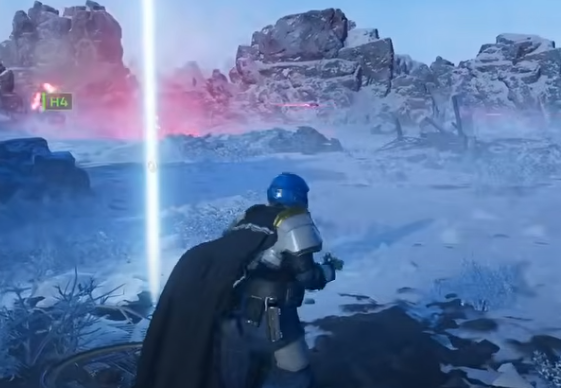
In Helldivers 2, crowd control is often the deciding factor between a clean extraction and a complete squad wipe. When missions throw endless hordes of Terminids or Automatons your way, few tools are as effective as the Stun Pod. This tactical equipment can disrupt enemy waves, create breathing room for your team, and turn the tide of overwhelming battles—if you know how to use it correctly.
Understanding the Stun Pod
The Stun Pod is a deployable grenade-type item that emits a powerful electric shock upon impact. It temporarily incapacitates nearby enemies, halting their movement and attacks for a short duration. While its damage output is minimal, the utility it provides is invaluable. Stun Pods are particularly useful for controlling choke points, defending objectives, or recovering fallen teammates under pressure.
Unlike damage-oriented tools like the Firebomb or Laser Stratagems, Stun Pods focus purely on crowd management. Their strength lies in timing and placement rather than raw firepower.
Best Situations to Use Stun Pods
-
Defending Extraction Zones
When waiting for the shuttle, enemy spawns intensify. Deploying a Stun Pod on one side of the landing zone can freeze aggressive bugs or bots, allowing your team to reposition or revive allies safely. -
Interrupting Charger or Hulk Charges
A well-placed Stun Pod can stop a charging Charger or temporarily disable a Hulk’s heavy weaponry. This buys precious seconds to aim for weak spots or retreat to a more favorable position. -
Holding Objectives and Upload Points
During missions where you need to hold a point for a set duration, enemies tend to rush in waves. Tossing a Stun Pod right before a wave reaches the objective helps keep the area clear long enough to complete uploads or interactions. -
Reviving Teammates Under Fire
If a teammate goes down surrounded by enemies, throw a Stun Pod first. The resulting shockwave will briefly disable hostiles, giving you enough time to pull off a clutch revive.
Advanced Tips for Effective Use
-
Pair with High-Damage Weapons: Stunned enemies are sitting targets. Combine Stun Pods with weapons like the Railgun or Autocannon to quickly clear out immobilized foes.
-
Chain with Stratagems: Drop a Stun Pod before calling down airstrikes or heavy ordnance to ensure enemies don’t scatter out of the blast zone.
-
Watch the Terrain: Stun Pods detonate on contact, so aim for solid ground near groups rather than directly at enemies to maximize radius and consistency.
-
Manage Supply Efficiently: They’re limited in number, so don’t waste them on small groups. Save Stun Pods for emergencies or dense swarms where they make the most impact.
Optimizing Your Loadout
A balanced loadout is key to getting the most from Stun Pods. Combine them with boosters that enhance survivability or stamina for quick repositioning after deployment. Players who prefer tactical and supportive roles often find this combination particularly effective.
If you’re looking to fine-tune your setup or expand your inventory options, you can buy Helldivers 2 items to test different equipment builds. The Helldivers 2 super credits store online also offers access to premium gear that can complement your crowd-control strategy, helping you maintain team efficiency in high-intensity missions.
Final Thoughts
The Stun Pod may not deliver lethal blows, but it excels at something far more important—control. When used strategically, it can turn chaos into order and give your team the edge needed to complete objectives without unnecessary losses. Whether you’re fighting through Terminid nests or defending against Automaton assaults, mastering the Stun Pod’s timing and placement will make you a more reliable and tactical Helldiver.
